MIDI Guerrilla
21 Mar 2017This is going to be the first of several posts of me building a clone of the Midi Fighter, called the MIDI Guerrilla because it’s going to be a bit more rough and ready, possibly with some weird extra features. After seeing a custom one used in a video, Shawn Wasabi - SPICY BOYFRIEND, that was going around Twitter a while ago I started looking into making my own. It’s basically a MIDI keyboard that uses arcade buttons instead of keys.
After a bit of research it turned out that the MIDI Fighter probably uses Sanwa OBSF-30 buttons with SW-68 switches so I went looking and found them on sites selling parts for (re)building arcade cabinets. While not that expensive at £2.04 each, with the 16 I’d need it looked a little expensive, so I had a look on Ali Express and found a Chinese version of the OBSF-30 that cost £12 for 20.
When I was waiting for them to arrive I started to get the software working. Unfortunately the ST USB library isn’t the simplest thing to get your head around. I'll leave the gory details for another post, which will hopefully give anyone wanting to try something similar a head-start as the ST documentation isn’t the most helpful. After two re-writes and a few stupid mistakes I got it sending USB MIDI events back to the host. I'll stick the code up somewhere once I’ve finished the project and everything’s working.
Now the software side was coming along and the buttons had arrived it was time to mount them and see how well it worked. I took a spare bit of MDF and used one fornster bit to cut a rabbet in the MDF, as the buttons are supposed to mount on something around 3mm thick, and another to make the hole.
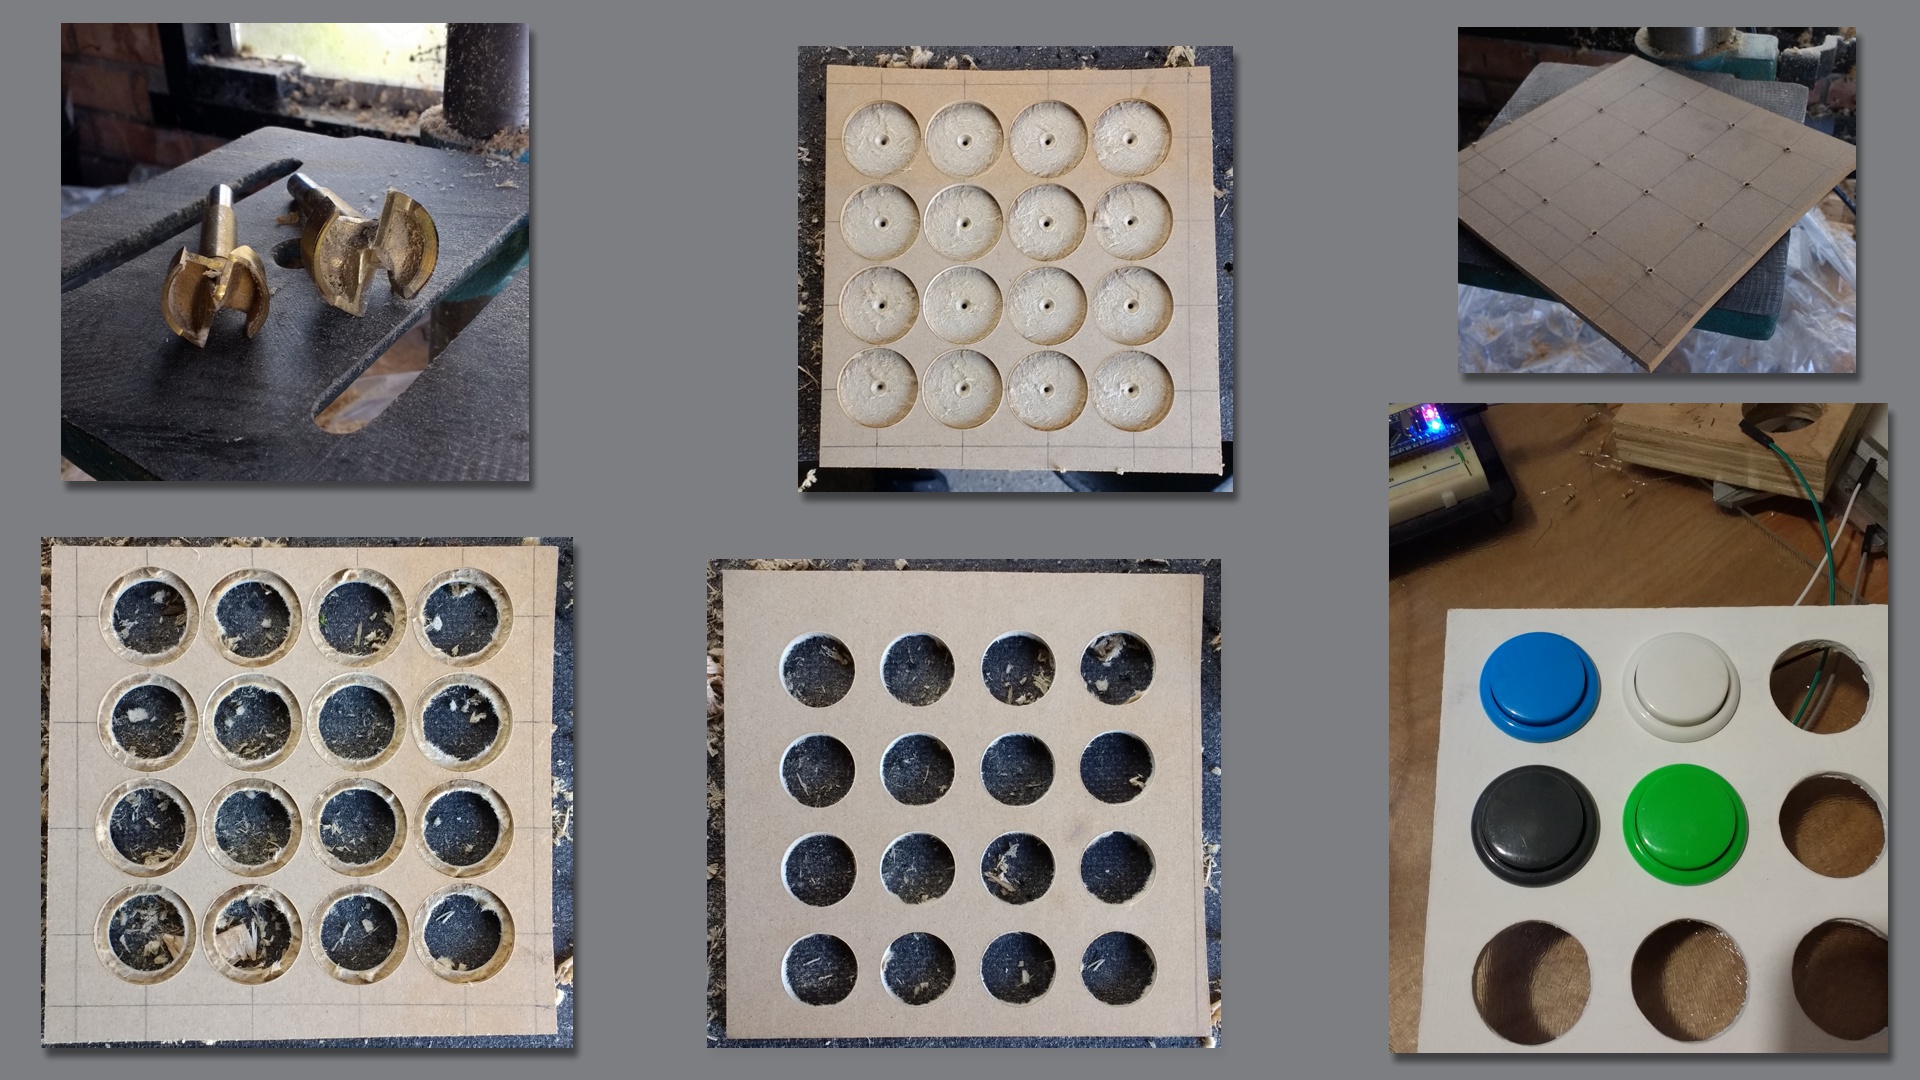
I thought it made sense to try 4 buttons first and see how well they worked before doing the rest. After wiring them up as a matrix I gave it a quick test but soon discovered that when you pressed three buttons at once the fourth triggered as well. If I’d had done some research on button matrixes before I would have know this.
As the matrix wasn’t going to work my next idea was to wire four buttons up in series with a resistor across each button’s terminal so when it was pressed the resistor would be bypassed. By using resistor values that were powers of two I should have be able to work out which buttons were being pressed (1k, 2.2k, 3.7k, 10k in standard resistor values).
This seemed to work fine when measuring it with my multi-meter so I took the end of the chain and connected it to a voltage divider with it’s output going into a ADC on the microcontroller.
This worked well for the three lower value buttons, but as soon as the largest was pressed the output was so noisy you couldn’t tell what was going on. I tried a windowed average over the last 8 values to reduce the noise, but this didn’t help, so it was onto plan C.
Plan C was to keep it simple and as there’s plenty of I/O pins on the MCU I’m using I decided to just wire each one directly. Not as elegant as I was hoping for, but it will work. If I ever wanted to build a 64 button version I could either have four cheap MCUs reading 16 buttons and talking back to a master or just use the 100/144 pin version of the STM32F103C8 and make a custom PCB.
After I had this test working I thought it made more sense to design the final case and build that, rather then wiring up all 16 button just to take them apart in a week or so. Assuming everything goes to plan I’ll be building the case this week so hopefully that will be my next update.
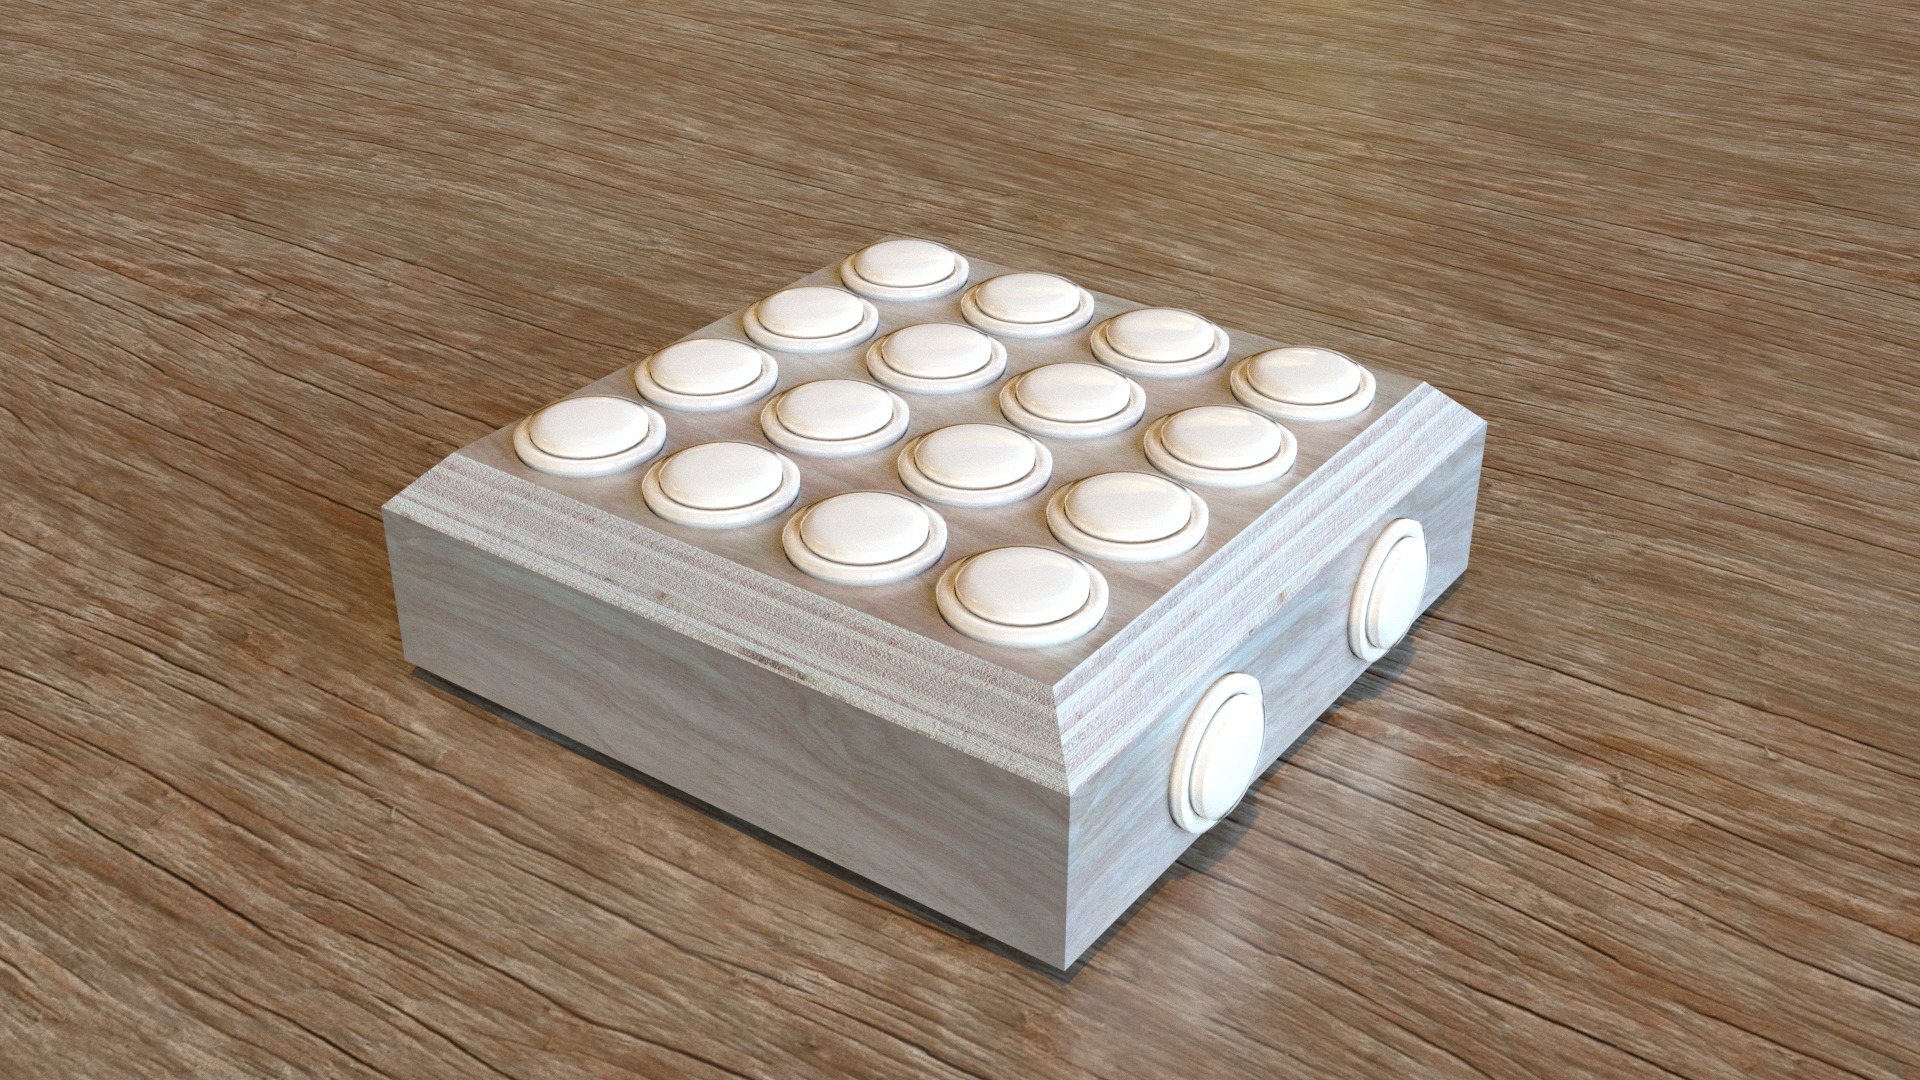
As I’ve done the design for the case in blender already I thought I’d add a render to show what it should look like. Come back next week to see if I managed it or not.