Fixing my FD-6
20 Mar 2016If you look online you’ll see a lot of complaints about the Roland FD-6 hi-hat pedal getting stiff and being impossible to use. The rubber they use, at least in the version I have, dries out over time and becomes so hard that normal pressure from your foot isn’t enough to move it.
There’s various tricks to fix this, from soaking in hot water to covering with additives to soften the rubber. I tried the boiling method, which worked fine for a couple of months, but after the water escaped it went back to being too stiff to use.
Originally I was tempted to build a replacement board using digital-pots and hall effect sensors but I couldn’t come up with a neat way of adding a battery, charging port and some setup switches to the pedal without cutting it or making it messy.
I've been tempted to try out mold making and casting for a while so I thought this might be a good excuse to give it a go.
The materials
I wanted a replacement for the rubber part, so some form of two part rubber made the most sense. There’s quite a few on the market, but I needed to find something I could get hold of in the UK and I also needed something to make the mold out of.
In the end I used ‘Polycraft GP-3481-F General Purpose RTV Condensation Cure Mold Making Silicone Rubber’ and ‘Polytek Poly PT Flex 60 Liquid Casting Rubber’.
I guessed that the PT Flex 60 would have a similar feel to the original part. 40 sounded a bit too soft and 80 might have been too stiff. At worst, if 60 needed extra strength I could do a second casting with some reinforcing to stiffen it up.
Making the mold
Most of the guides I watched used wooden boxes, usually with a melamine coating then modeling clay along the seams, but I didn’t have any of this handy. As it was a small mold I didn’t think weight would be a problem, so I went with cardboard with a plastic sheet stuck to it to make it water-tight.

The bits of plastic below the part are some spacers made out of milk bottle to raise it off the base of the mold. I also added two circles of plastic to fill in the hole that’s used to mount it inside the pedal.
Mixing and pouring the mold wasn’t that bad at all. Since you’ve got 30-40 minutes working time there’s no rush and everything I’ve read said that the slower the pour the fewer air bubbles you get.
After casting the mold, and waiting 24 hours to ensure it had set fully, I had this:
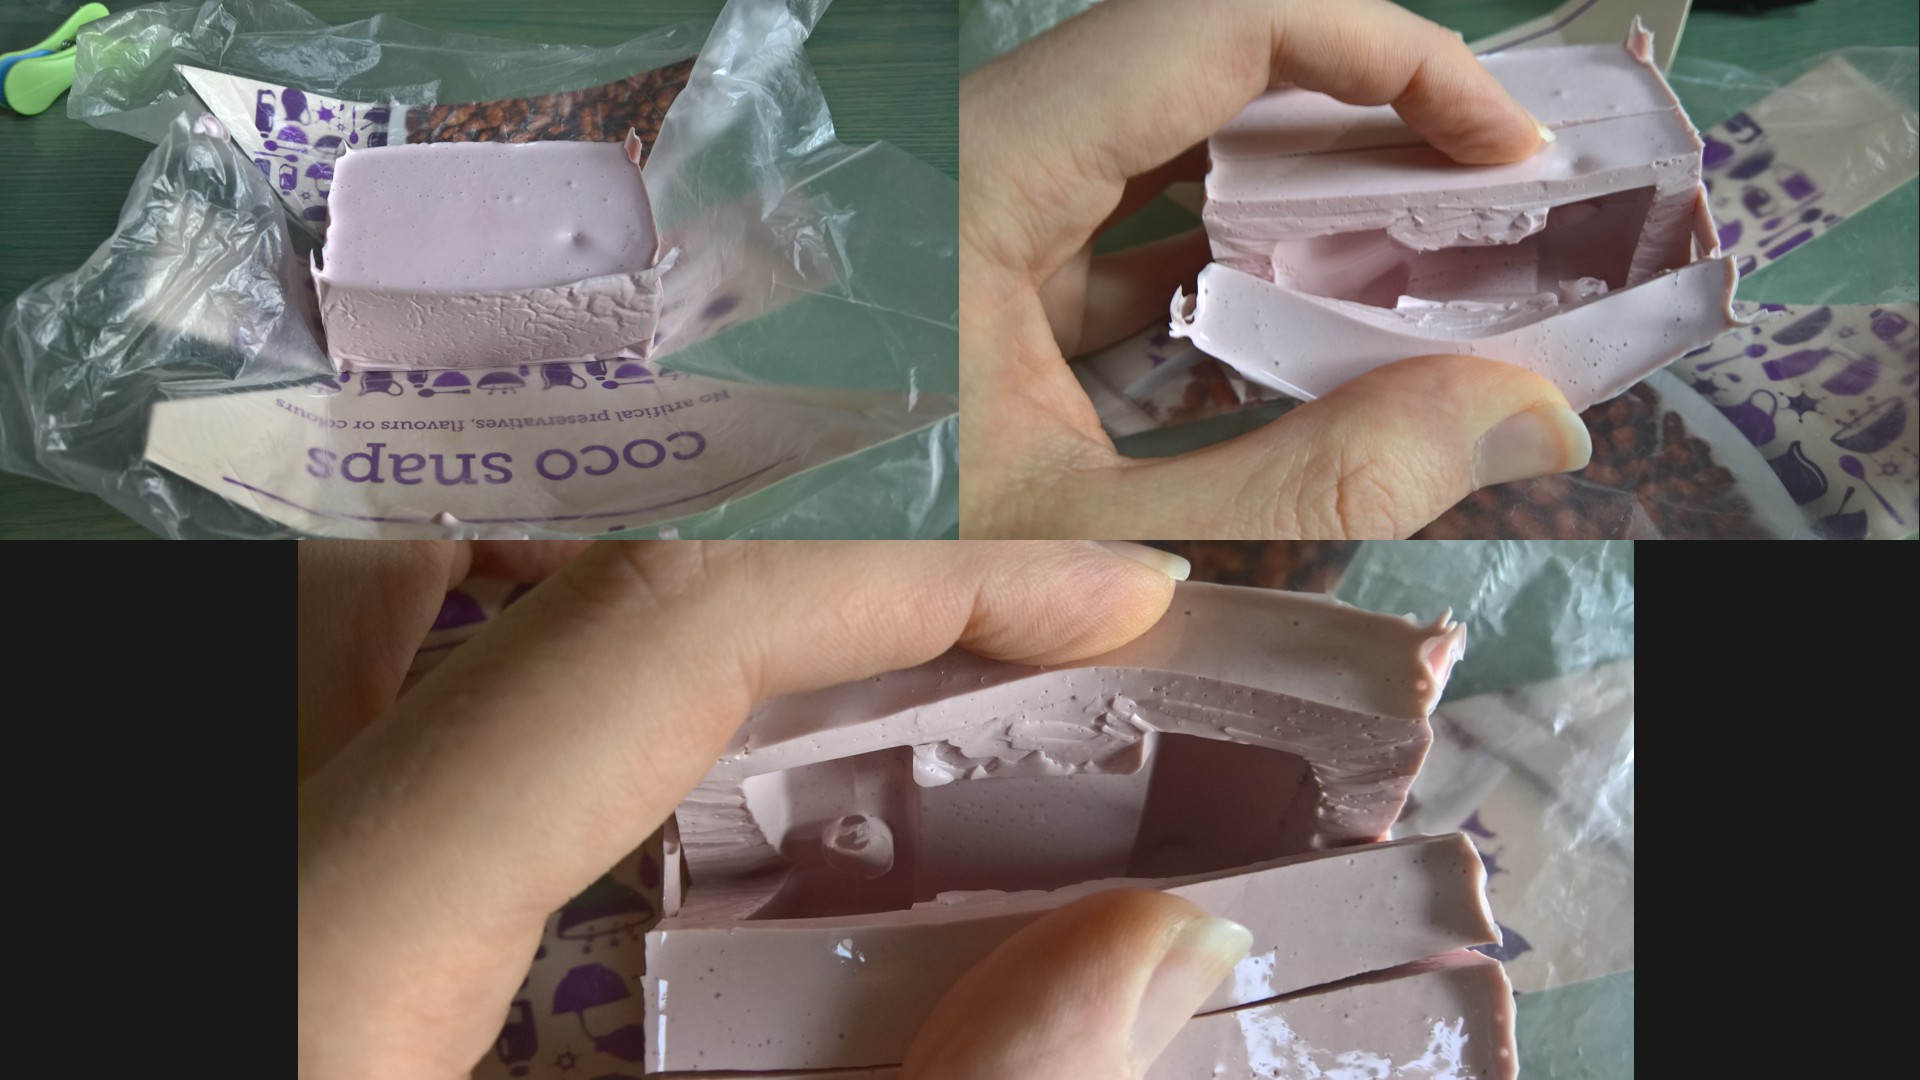
What isn’t clear from these pictures is that when I was moving the mold I managed to tip the part over. Luckily as the mold was narrow it just ended up at a 30 degree angle, with one corner touching the edge of the mold.
Casting the part
The PT Flex 60 has a pretty short working time (4 minutes) so if any part of this experiment was going to go wrong I assumed it was going to be this.
After a quick 30 second mix I tried my best to pour and get rid of any bubbles. About 3 minutes after mixing it does start to thicken a lot so you need to be well organized.
The data sheet says that it has a two hour curing time, but I left it for 3 just to make sure it was well set before de-molding.
The final part
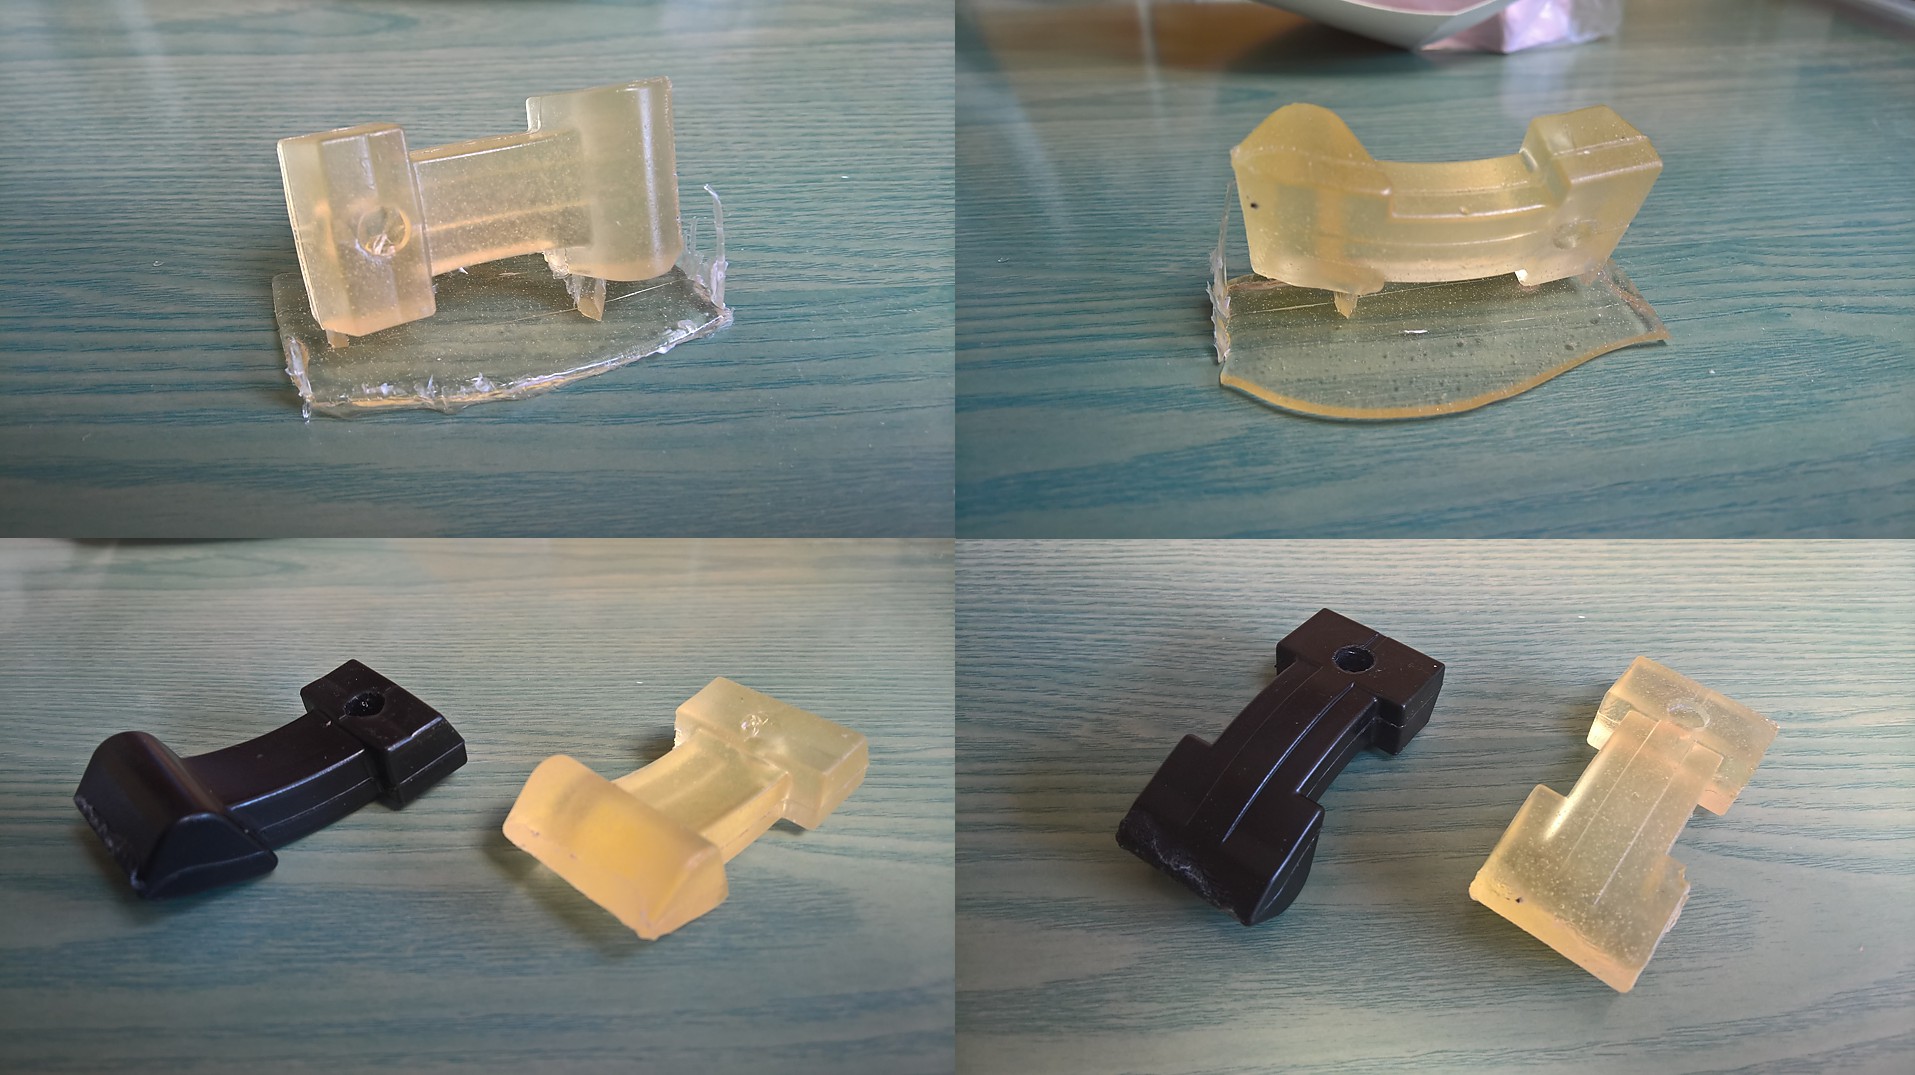
Apart from the corner which touched the edge of the mold it’s a perfect replica of the original, which I don’t think is bad for my first attempt at this.
The data sheet states the it can take up to 7 days for the material to reach it’s specified properties so I’ve placed it over my craft knife, to keep the curved shape, and I’m going to give it a week before I try installing it in my FD-6.
That said, at the moment the stiffness feels about right and while I was worried that it might deform so far there’s no sign of it changing shape at all.
I'll probably get around to doing another quick post saying if it’s working later on.
Future ideas and tips
The mold making process went well but there’s a few things I learned:
-
Ensure models can’t tip over. I could have put the part on its back, where tipping wouldn’t have been an issue, but this would have meant putting the curved contact side downwards (to give the best chance of bubbles escaping) and I didn’t want to risk marks there as this is the surface that presses against the resistance strip. Side supports would have probably been the best idea, probably plastic but thin thread might have worked.
-
Make sure you put air release/pouring hole spacers in when casting. Cutting them out by hand wasn’t hard, but it would have been neater to get it right the first time. I remembered about an hour or so after pouring so it was too hard to push them in by that point.
-
Silicone rubber is pretty tough. A 5-6mm border is probably strong enough for most stuff. The 10mm that I used was just a waste of material in the end. As the part fell over, 1/3rd of the mold was empty and it still had plenty of strength.
-
Check the density of the mix you’re using. I forgot that the silicon I used is 250g per 200ml (e.g. 1.25g per cm^3), not 1:1 like the PT flex which is 1g per cm^3. Luckily the rubber is so strong having it a bit thin on top wasn’t an issue.
Next was casting:
-
When the data sheet says ‘4 minute working time’ they really mean it. After 2 minutes it starts to thicken and by 4 it’s really slowing down. 4 to 5 minutes is still possible, but you get a lot of trapped air.
-
Larger pour holes, at least 7mm diameter are a good idea. Once the PT Flex starts to thicken small holes make everything slower, and time is something you don’t have.
-
Make time to tip the mold. Tipping helps to move trapped air bubbles but this eats into your pouring time. A larger pour hole probably would have made this less of an issue.
Conclusion
In the end I think it worked pretty well.
My oversized mold cost about £3.70 but I’m sure I could have made it for £2.50 knowing how strong the silicone rubber is now. The final part (all of 27g) was about 62p. Given that the only replacements parts I can find seem to be about £12 on ebay, if you can find them at all, that’s a pretty good price.
Of course, I had to buy a bit more material then I used, but I’m sure I’ll come up with some other interesting things to use it for.